 |
|
|
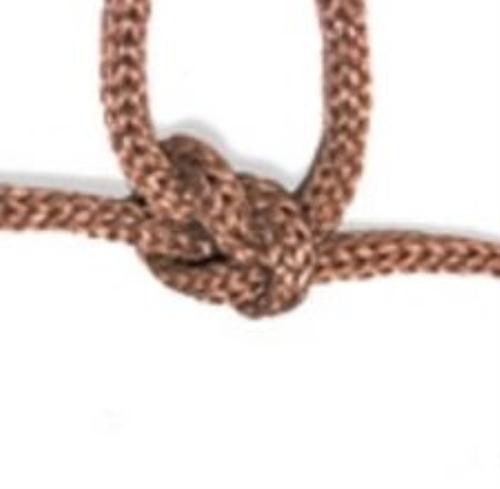
Square Knot
Square knot also known as a reef knot, the square knot is secure and easy to untie. Get out a piece of rope and start practicing the techniques down below and you should have it down in no time.

- 1
Start with two pieces of rope that are close in diameter. We'll call them rope A and rope B for ease in describing this process.
- 2
Hold the end of rope A in your left hand and the end of rope B in your right hand.
- 3

Cross rope A over rope B to form an X.
- 4

Wrap A once to the right around B, just like the first step in tying a bow in your shoelace. A is now sticking out to the right and B is to the left.
- 5

Cross A over B again, forming another X.
- 6

Wrap A once to the left around B.
- 7

Pull on the free ends to tighten the knot.
|
|
|
|
This is one of the few classical hitches that is truly useful and reliable. Its security is admirable and it always casts off without trouble after use. Just remember that a true Timber Hitch must have at least three tucks trapped against the object.
When using this hitch around a very large object you might have to put tucks of rope further back to ensure that three tucks stay clamped. If you decide to use the Timber Hitch for any lengthwise pull, you should make sure that the wraps are made so that the pull will cause your tucks to tighten, not loosen.
The one bad thing about this hitch is that it is so simple, that some don't take the time to really study and memorize it, and will sometimes wrap the rope around the wrong leg, which will not result in anything but junk. Remember to wrap the rope back around the leg from where it just came (left side as shown above). If you did, it should form an eye for the standing part to run through.
|
How to Tie a Clove Hitch Knot
 Tie a Clove Hitch Knot Tie a Clove Hitch Knot This is an adjustable knot that's great for temporary uses such as mooring.
Instructions
- 1

Loop the rope around the object you're tying to. Hold an end in each hand.
- 2

Cross the end in your right hand over the end in your left hand, forming an X with your hands holding the pieces at the top of the X.
- 3

Wrap the end in your right hand around behind the object again in the same direction as before, leaving the wrap loose. When you bring it back around to the front, poke the end under the piece of rope that you just wrapped around.
|
|
 |